Building simple QT application
From SomLabs Wiki
Building simple QT application
This article explains how to configure tools and build a simple example for VisionSOM-6ULL target using the Qt library. The target user name in this article is som - change it according to your target system configuration.
The whole tutorial was prepared for the PC with Ubuntu 18.04 as the host system and Debian 10 Buster target system.
Configuring the VisionSOM-6ULL target
First we need to configure the target and install all required libraries. The target rootfs needs also to be resized to at least 2 GB, as it is described in the article: Extending rootfs partition
Edit /etc/apt/sources.list and add a line:
deb-src http://deb.debian.org/debian buster main
Update available software list and install the following packages:
apt-get update
apt-get build-dep qt4-x11
apt-get build-dep libqt5gui5
apt-get install libudev-dev libinput-dev libts-dev libxcb-xinerama0-dev libxcb-xinerama0
Create the following directory - we will use it to install the Qt library. It needs to be accessible by the user that has the SSH access to target system.
mkdir /usr/local/qt5som
chown som:som /usr/local/qt5som
Configuring the host system
First of all we need to install some packages required for the Qt library compilation:
sudo apt-get install make gcc g++ git pkg-config rsync python
and add a i386 architecture:
sudo dpkg --add-architecture i386
sudo apt-get update
sudo apt-get upgrade
Next we need to generate a sysroot - a directory containing all required libraries from the target system. We will be using it during the project compilation. This step requires the network access to the VisionSOM-6ULL target. The IP address in the example as well as the user name need to be changed according to the current configuration.
mkdir sysroot sysroot/usr sysroot/opt
rsync -avz som@10.71.161.96:/lib sysroot
rsync -avz som@10.71.161.96:/usr/include sysroot/usr
rsync -avz som@10.71.161.96:/usr/lib sysroot/usr
After downloading the files from the target we need to fix the links by changing them from absolute to relative paths. We can use the following script:
wget https://raw.githubusercontent.com/Kukkimonsuta/rpi-buildqt/master/scripts/utils/sysroot-relativelinks.py
chmod +x sysroot-relativelinks.py
./sysroot-relativelinks.py sysroot
The sysroot is ready, so we can build the Qt library. The version used in the tutorial is 5.12 but may be changed if needed. First let's download the Qt sources from the repository:
git clone git://code.qt.io/qt/qtbase.git -b 5.12
and the toolchain (we will use the one provided by Linaro):
wget https://releases.linaro.org/components/toolchain/binaries/7.4-2019.02/arm-linux-gnueabihf/gcc-linaro-7.4.1-2019.02-x86_64_arm-linux-gnueabihf.tar.xz
tar -xf gcc-linaro-7.4.1-2019.02-x86_64_arm-linux-gnueabihf.tar.xz
Now we can configure and build the library. The configure script requires a few arguments explained below:
- -device linux-imx6-g++ cross compile for iMX6 target platform
- -release turn off debugging
- -opengl es2 enable OpenGL ES2 API
- -device-option CROSS_COMPILE=<PATH_TO_THE_TOOLCHAIN>/gcc-linaro-7.4.1-2019.02-x86_64_arm-linux-gnueabihf/bin/arm-linux-gnueabihf- path to the downloaded Linaro toolchain
- -sysroot <PATH_TO_THE_SYSROOT>/sysroot path to the sysroot built in the previous step
- -opensource we will use the opensource lince
- -confirm-license automatically confirm all licenses
- -make libs build only libraries without examples
- -prefix /usr/local/qt5som library path prefix on the target
- -extprefix <LIB_INSTALLATION_PATH> path on the host machine to install the built libraries
- -hostprefix <HOST_INSTALLATION_PATH> path on the host machine to install the libraties and tools used by the host
- -v print additional messages during compilation
All paths in the brackets <> need to be set according to the local environment configuration. The complete configure and make commands look like this:
cd qtbase
./configure -release -opengl es2 -device linux-imx6-g++ -device-option CROSS_COMPILE=<PATH_TO_THE_TOOLCHAIN>/gcc-linaro-7.4.1-2019.02-x86_64_arm-linux-gnueabihf/bin/arm-linux-gnueabihf- -sysroot <PATH_TO_THE_SYSROOT>/sysroot -opensource -confirm-license -make libs -prefix /usr/local/qt5som -extprefix <LIB_INSTALLATION_PATH> -hostprefix <HOST_INSTALLATION_PATH> -v
make -j4
make install
After the libraries compilation and installation, we can upload the built libraries to the VisionSOM-6ULL target:
rsync -avz <LIB_INSTALLATION_PATH> som@10.71.161.96:/usr/local
Configuring Qt creator
Now, we can configure the programming environment for the Qt applications. We will use the Qt Creator IDE - the official tool for the Qt framework. It can be installed on the host system from the distribution package:
sudo apt-get install qtcreator
This tutorial is based on the Qt Creator 4.5.2.
After running the IDE we need to configure our device and toolchain. Let's open the Device options by selecting the Tools->Options menu and add a new Generic Linux Device:
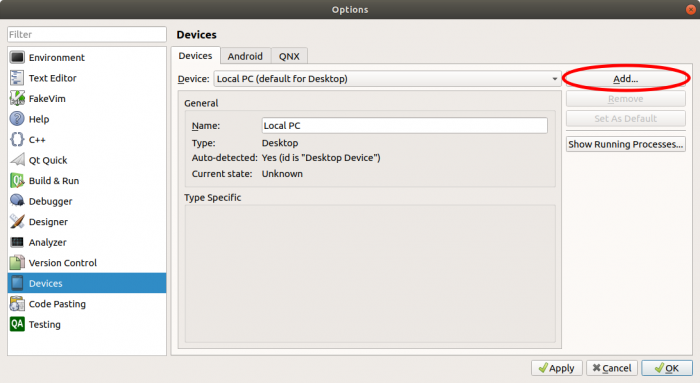
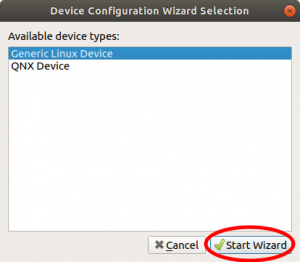
In the wizard window we need to specify the device name, the IP address, username and password in order to allow Qt Creator the SSH access to our target system:
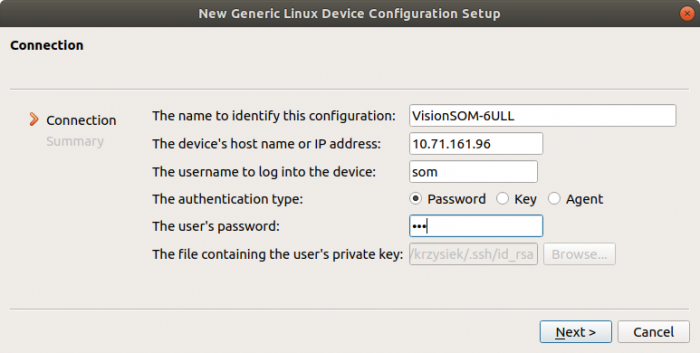
Our configuration will be automatically verified after we finish the setup:
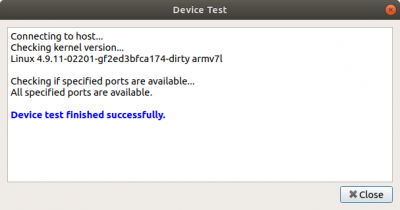
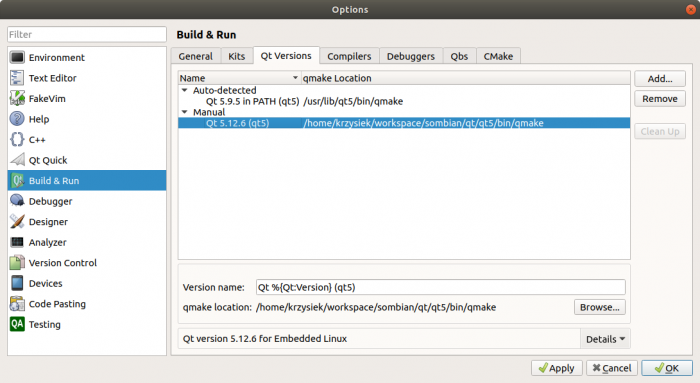
Our device is ready, so let's move on to the toolchain configuration in the Tools->Options Build&Run menu. First, in the Qt Versions tab, we need to add the Qt version that we have just built - the location of qmake tool (<HOST_INSTALLATION_PATH>/bin/qmake):
Next is the compiler (C and C++) in the Compilers tab - we need to specify the same path as in the Qt configuration parameters: <PATH_TO_THE_TOOLCHAIN>/gcc-linaro-7.4.1-2019.02-x86_64_arm-linux-gnueabihf/bin/arm-linux-gnueabihf-gcc and <PATH_TO_THE_TOOLCHAIN>/gcc-linaro-7.4.1-2019.02-x86_64_arm-linux-gnueabihf/bin/arm-linux-gnueabihf-g++. We also need to set the ABI (arm-linux-generic-elf-32bit) and any name that will help us to recognize it later:
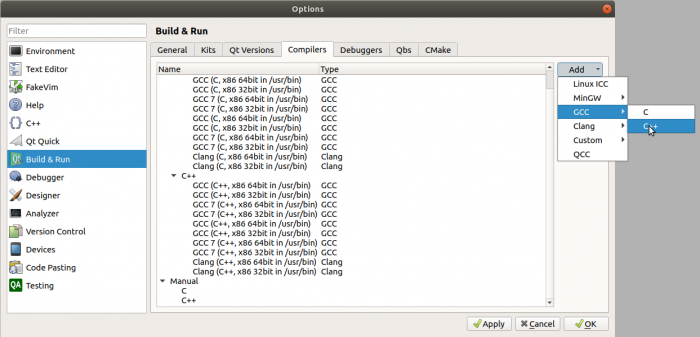
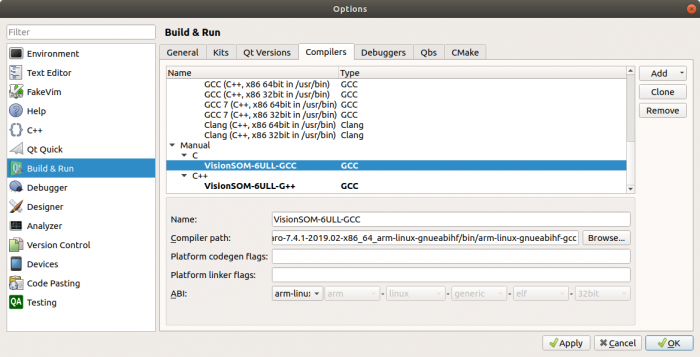
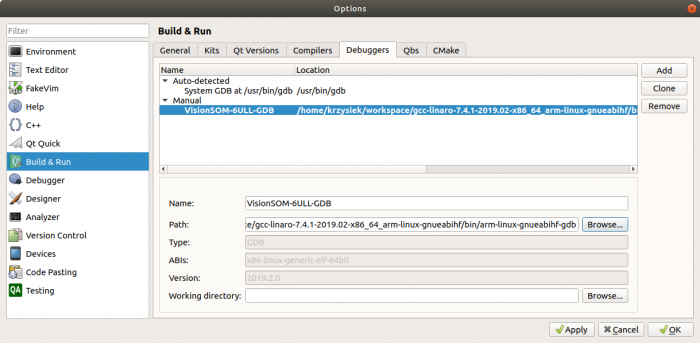
It is not required but we may also need to configure the GDB in the Debuggers tab. It has the same path as the compilers from the previous step:
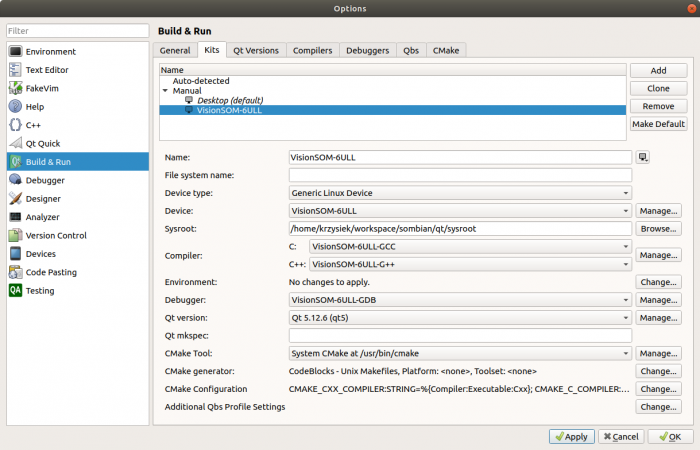
Finally, we are ready to configure a new Kit for our device. Let's add it in the Kits tab, assign a name, device and its type, sysroot directory (<PATH_TO_THE_SYSROOT>/sysroot), compilers, debugger and Qt version:
Simple Qt application
We are now ready to build the application for our device. Let's create a new Qt Widgets application project (File->New File or Project):
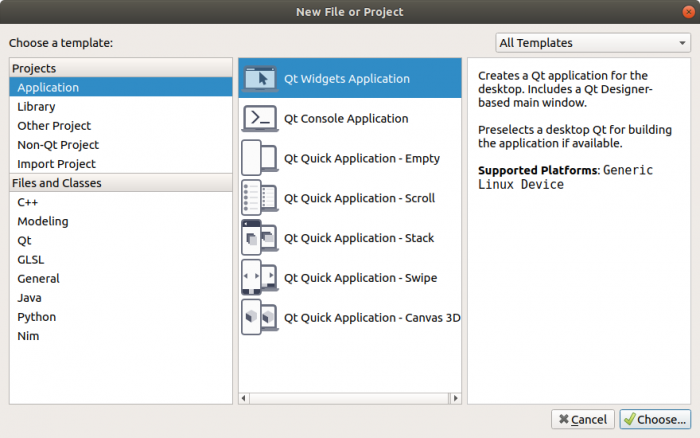
The project generator will create a new MainWindow class, main.cpp and a *.pro file (QtExample.pro in this case). The last one contains the project configuration and we need to modify it in order to add the paths with the libraries required for compilation by adding QMAKE_RPATHDIR variable:
QMAKE_RPATHDIR += $$[QT_SYSROOT]/usr/lib/arm-linux-gnueabihf $$[QT_SYSROOT]/lib/arm-linux-gnueabihf
We can now open the Forms/mainwindow.ui file in the GUI designer. This tool will help us to build the graphical interface. In this example we will simply add a text label in the middle of the window:
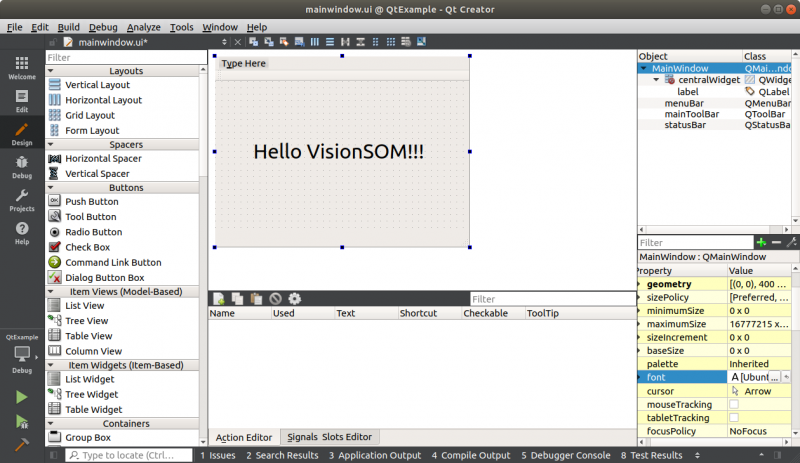
Now we are ready to compile our project by clicking the build button. In case of multiple kits we can select them also i the bottom left corner of the screen:
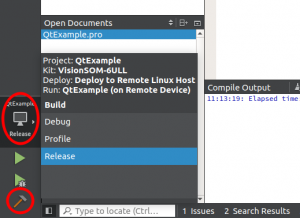
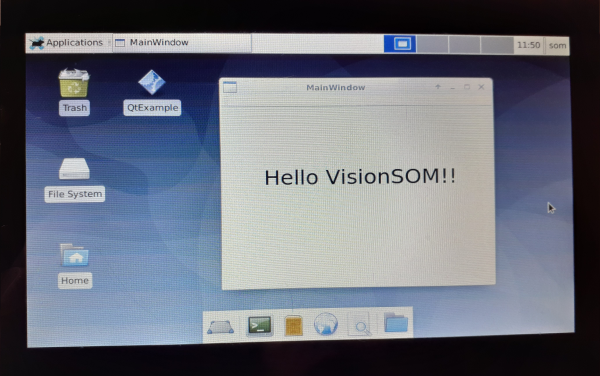
We can now run the application on the VisionSOM-6ULL target. We can simply copy it from the build directory specified during project creation using SCP:
scp build-QtExample-VisionSOM_6ULL-Release/QtExample som@10.71.161.106:Desktop/
